Introduction
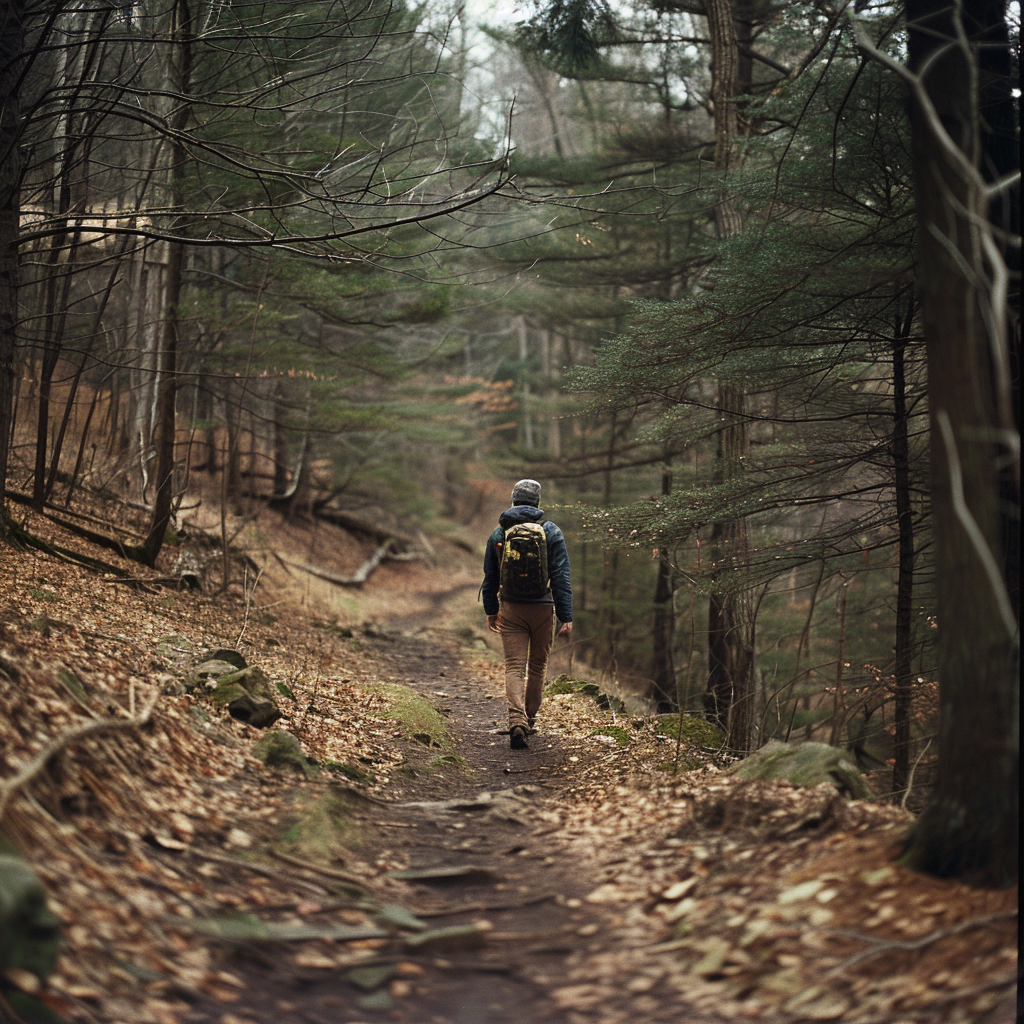
Hiking is an exhilarating way to connect with nature, challenge yourself, and explore new terrains. However, one small but painful issue can quickly turn a fantastic adventure into a miserable ordeal: blisters. These pesky, fluid-filled bubbles can cause significant discomfort, slowing you down and potentially cutting your hike short.
For hiking enthusiasts, knowing how to prevent and treat blisters is crucial. Proper foot care can mean the difference between an enjoyable hike and a painful one. In this article, we’ll explore practical tips and techniques to help you keep your feet blister-free and ready for any trail.
We’ll cover:
- Understanding what blisters are and why they form
- Tips for preventing blisters before they start
- How to manage and treat blisters if they do occur
- Post-hike foot care to keep your feet healthy
By following these guidelines, you can ensure that blisters won’t stand in the way of your hiking adventures.
Understanding Blisters
What Are Blisters?
Blisters are small pockets of fluid that form on the upper layers of your skin. They are typically caused by friction, which can occur when your skin rubs against another surface repeatedly. When hiking, this friction usually happens between your feet, socks, and boots.
- Common Causes:
- Friction from ill-fitting shoes
- Moisture from sweat or wet conditions
- Heat from prolonged walking
Why Blisters Occur
Understanding why blisters occur can help you take steps to prevent them.
Poorly Fitting Shoes and Socks
- Shoes:
- Shoes that are too tight can pinch and create pressure points.
- Shoes that are too loose can cause excessive movement and friction.
- Socks:
- Cotton socks retain moisture, increasing the risk of blisters.
- Thick seams in socks can rub against your skin.
Prolonged Walking on Different Terrains
- Hiking on uneven or rough terrain increases the friction on your feet.
- Steep ascents and descents can cause your feet to slide inside your shoes, creating hot spots that lead to blisters.
By understanding the mechanics of blister formation, you can better prepare and protect your feet before hitting the trails. Next, we’ll delve into practical tips for preventing blisters from forming in the first place.
Preventing Blisters
Choosing the Right Footwear
Your hiking boots are your primary defense against blisters. Investing time in selecting the right pair can save you a lot of pain down the road.
Proper Fit
- Length and Width:
- Ensure there is enough room in the toe box to wiggle your toes.
- The boots should fit snugly around the midfoot and heel to prevent slipping.
- Break Them In:
- Break in your new hiking boots by wearing them around the house or on short walks before tackling long hikes.
- Gradually increase the distance to help your feet adjust.
Selecting the Right Socks
The right socks can make a huge difference in preventing blisters.
Material
- Moisture-Wicking:
- Choose socks made from wool or synthetic blends that wick moisture away from your skin.
- Avoid cotton socks, as they retain moisture and increase friction.
Layering
- Liner Socks:
- Wearing a thin liner sock under your hiking socks can reduce friction.
- This inner layer absorbs moisture and minimizes the risk of blisters.
Keeping Feet Dry
Moisture is a major culprit in blister formation. Keeping your feet dry is crucial.
Foot Powders and Antiperspirants
- Foot Powders:
- Apply foot powder before putting on your socks to absorb excess moisture.
- Antiperspirants:
- Using antiperspirant on your feet can help reduce sweating.
Regular Sock Changes
- During Hikes:
- Change your socks regularly, especially if they become wet from sweat or water crossings.
- Carry extra pairs in your backpack for longer hikes.
Using Blister Prevention Products
Several products are designed specifically to prevent blisters.
Lubricants
- Petroleum Jelly:
- Apply a thin layer to areas prone to blisters to reduce friction.
- Blister Prevention Sticks:
- These are easy-to-use alternatives that create a protective barrier on your skin.
Protective Patches
- Moleskin:
- Cut and apply moleskin to areas that often develop blisters.
- Blister Prevention Patches:
- Use these patches on hot spots before they turn into blisters.
Preventing blisters requires a combination of the right gear and proactive measures. By taking these steps, you can significantly reduce the likelihood of blisters and enjoy a more comfortable hiking experience. Next, we’ll discuss how to monitor and manage hot spots while on the trail.
Monitoring and Managing Hot Spots
Recognizing Hot Spots Early
Hot spots are areas of irritation on your skin that can develop into blisters if not addressed promptly. Catching them early is key to preventing blisters.
Signs of Hot Spots
- Sensation:
- A burning or rubbing feeling on your feet.
- Visual Cues:
- Redness or slight swelling on the skin.
Immediate Actions to Take
When you notice a hot spot, it’s crucial to take immediate action to prevent it from developing into a blister.
Stop and Address the Issue
- Take a Break:
- Stop hiking as soon as you feel a hot spot developing.
- Remove your shoes and socks to examine your feet.
- Dry and Cool Your Feet:
- Let your feet air out and dry off any moisture.
- Cool your feet with water or allow them to rest in a cool environment.
Applying Protective Measures
Once you’ve identified a hot spot, protect it to prevent further friction.
Moleskin and Blister Pads
- Moleskin:
- Cut a piece of moleskin to cover the hot spot.
- Ensure the moleskin extends beyond the edges of the hot spot to prevent further irritation.
- Blister Pads:
- Use blister pads or hydrocolloid dressings designed to cushion and protect the area.
Taping
- Use Medical Tape:
- Apply medical tape over the moleskin or directly on the hot spot to keep it in place.
- Ensure the tape is smooth and free of wrinkles to prevent additional friction.
By recognizing and addressing hot spots early, you can prevent them from turning into painful blisters. This proactive approach allows you to continue your hike comfortably and avoid the disruption that blisters can cause. In the next section, we’ll explore how to treat blisters if they do occur.
Treating Blisters on the Trail
Cleaning and Protecting Blisters
If a blister does form, it’s essential to treat it properly to prevent infection and further discomfort.
Cleaning the Blister Area
- Antiseptic Wipes:
- Clean the blister and the surrounding area with antiseptic wipes to reduce the risk of infection.
- Sterile Conditions:
- Always use clean hands or wear gloves when handling blisters.
Applying Blister Bandages
- Blister Bandages:
- Use specialized blister bandages or hydrocolloid dressings to protect the blister.
- These bandages cushion the blister, reduce friction, and promote healing.
- Second Skin Products:
- Apply second skin or gel pads over the blister to create a protective barrier.
Draining Blisters: When and How
In some cases, draining a blister may be necessary, especially if it’s large and painful. However, it should be done with care to avoid infection.
When to Drain a Blister
- Excessive Pain:
- Drain if the blister is causing significant discomfort and affects your ability to walk.
- Risk of Bursting:
- Drain if the blister is likely to burst on its own in an unsanitary environment.
Safe Draining Procedure
- Sterilize a Needle:
- Use a sterile needle or sterilize a clean needle with alcohol.
- Puncture and Drain:
- Gently puncture the blister near its edge and allow the fluid to drain.
- Do Not Remove the Skin:
- Leave the blister skin intact to protect the underlying tissue.
Dressing the Drained Blister
- Clean Again:
- Clean the area with antiseptic once more after draining.
- Apply Antibiotic Ointment:
- Use an antibiotic ointment to prevent infection.
- Cover with a Bandage:
- Protect the blister with a sterile bandage or blister pad.
Caring for Open Blisters
If a blister has already burst, it’s vital to keep the area clean and protected.
Preventing Infection
- Clean Regularly:
- Clean the open blister and surrounding area with antiseptic.
- Use Sterile Dressings:
- Apply sterile, non-stick dressings to keep the area covered and clean.
Promoting Healing
- Change Dressings:
- Change the dressings regularly, especially if they become wet or dirty.
- Air Out When Possible:
- Allow the blister to air out when resting, but keep it covered during hiking to protect from dirt and friction.
Proper treatment of blisters can help you continue your hike with minimal discomfort and reduce the risk of complications. In the final section, we’ll discuss how to care for your feet after the hike to ensure they heal properly and remain healthy for future adventures.
Post-Hike Foot Care
Cleaning and Inspecting Feet
Proper foot care doesn’t end when the hike does. After your hike, taking care of your feet is crucial for recovery and preventing future blisters.
Thorough Cleaning
- Wash Your Feet:
- Use warm water and mild soap to clean your feet thoroughly.
- Pay special attention to any areas that experienced friction or developed blisters.
- Dry Completely:
- Make sure to dry your feet thoroughly, especially between the toes.
Inspecting for Issues
Take the time to inspect your feet for any signs of problems that may need attention.
Look for Signs of Infection
- Redness and Swelling:
- Check for any redness, swelling, or pus, which may indicate an infection.
- Pain and Heat:
- Monitor any areas that are unusually warm or painful.
Properly Caring for Blisters at Home
If you have developed blisters, continue to care for them properly to ensure they heal without complications.
Keeping Blisters Clean and Covered
- Daily Cleaning:
- Clean the blister area daily with antiseptic.
- Use Fresh Dressings:
- Apply fresh, sterile dressings or bandages to protect the blister.
Applying Ointments
- Antibiotic Ointments:
- Use antibiotic ointments to prevent infection and promote healing.
Preventing Future Blisters
Reflect on your hiking experience to identify what might have caused the blisters and make adjustments for the future.
Assessing Gear and Techniques
- Evaluate Footwear and Socks:
- Determine if your boots or socks contributed to the blisters and consider changes.
- Improve Prevention Strategies:
- Reflect on the effectiveness of your blister prevention methods and refine them as needed.
Long-Term Foot Care and Maintenance
- Regular Foot Inspections:
- Make a habit of regularly inspecting your feet for any potential issues.
- Strengthening and Conditioning:
- Engage in exercises that strengthen your feet and improve their resilience to long hikes.
Conclusion
Blisters can be a hiker’s worst enemy, but with the right knowledge and preparation, they are entirely preventable and manageable. By understanding what causes blisters, taking proactive steps to prevent them, and knowing how to treat them if they do occur, you can ensure that your hiking experiences remain enjoyable and pain-free.
Remember:
- Choose the right footwear and socks.
- Keep your feet dry and protected.
- Address hot spots immediately.
- Treat blisters promptly and properly.
- Care for your feet after every hike.
By following these guidelines, you can keep blisters at bay and focus on the beauty and adventure of the trails. Happy hiking!


